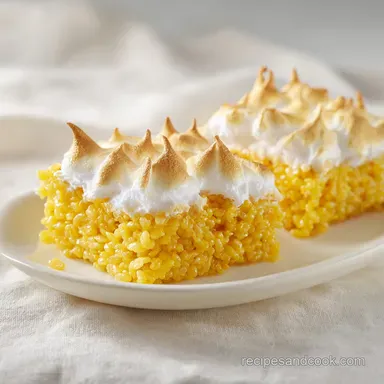
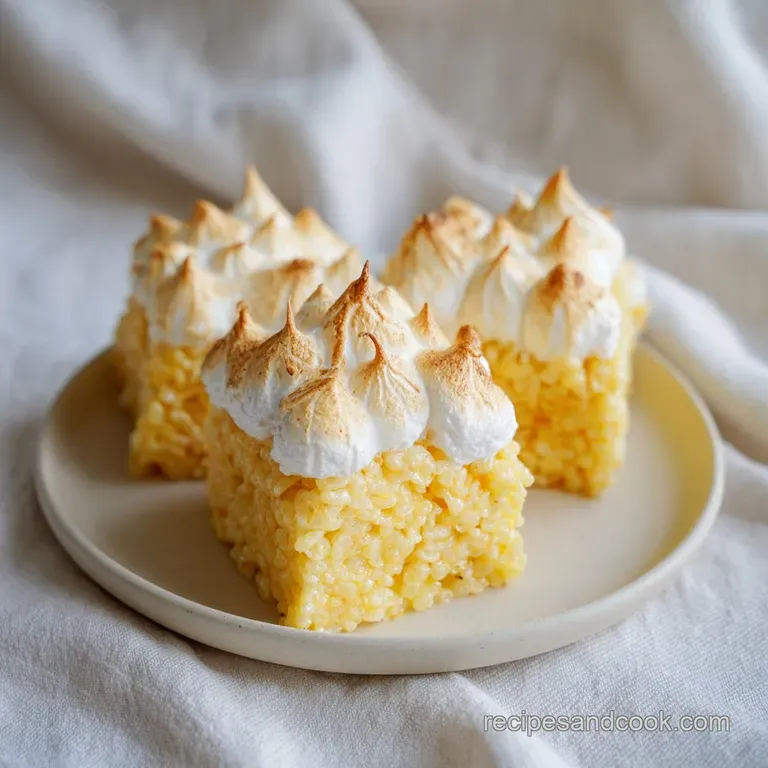
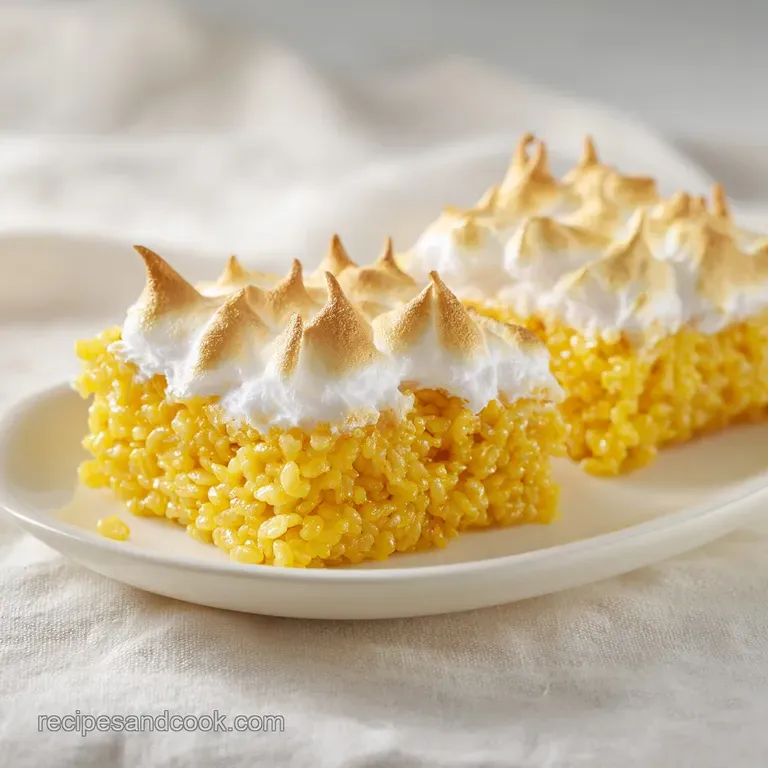
Lemon Meringue Rice Krispie Treat: Toasted Meringue
- Time: 20 min active + 1 hour chilling = Total 1 hours 30 mins
- Flavor/Texture Hook: Shatter crisp cereal paired with velvety, toasted meringue
- Perfect for: Baby showers, spring brunches, or a showstopping party platter
The scent of toasted sugar and bright, punchy lemon fills the kitchen the second that torch hits the meringue. It's that specific, caramelized aroma that makes you feel like you've just stepped into a high end bakery. But let's be real, most people have a horror story with these types of treats.
We've all been there - the treats that are so rubbery you practically need a hacksaw to cut them, or a meringue that weeps sugary tears all over the cereal. It usually happens because the marshmallows were overheated or the egg whites weren't stabilized.
I've spent way too much time chewing through "rock hard" treats to let that happen here.
The secret is all in the temperature and the timing. By keeping the heat low and using a pinch of cream of tartar, we get a result that is light, zesty, and actually melts in your mouth. Here is the ultimate recipe for a Lemon Meringue Rice Krispie Treat with Toasted Meringue.
Why This Zesty Treat Works
To get that bakery worthy finish, we have to look at what's happening in the pot and the mixer. It's not just about mixing things together, it's about managing the air and the fats.
Air Suspension: Whipping the egg whites creates a network of tiny air bubbles that get trapped by the sugar, creating a stable foam.
Fat Emulsion: The butter coats the cereal, which prevents the moisture from the lemon juice from making the rice cereal soggy.
Sugar Stabilization: Superfine sugar dissolves faster than regular sugar, which means the meringue won't feel grainy on your tongue.
Temperature Control: Melting marshmallows on low heat prevents the sugar from breaking down too far, which is exactly what stops that dreaded rubbery texture.
| Feature | Fresh Ingredients | Shortcut Version | Impact |
|---|---|---|---|
| Lemon | Fresh zest and juice | Bottled lemon juice | Fresh is far more aromatic and punchy |
| Sugar | Superfine/Caster | Standard granulated | Superfine creates a silkier meringue |
| Meringue | Fresh whipped egg whites | store-bought frosting | Fresh is airy; frosting is heavy and sweet |
Component Analysis
Before we jump in, let's look at what each part is actually doing. Trust me, knowing this helps you spot a mistake before it's too late.
| Ingredient | Science Role | Pro Secret |
|---|---|---|
| Unsalted Butter | Fat binder | Use a wide pot for faster, more even melting |
| Mini Marshmallows | Sweetener/Structure | Don't over stir or you'll lose the fluff |
| Egg Whites | Protein matrix | Ensure the bowl is grease free for max volume |
| Cream of Tartar | pH Stabilizer | Prevents the meringue from collapsing or weeping |
Gathering Your Essentials
You'll need a few specific things to get the textures right. Don't bother with low-fat butter or substitutes here, as the fat is what carries the lemon flavor and keeps the treat from sticking to your teeth.
- 3 tbsp unsalted butter
- 6 cups crispy rice cereal
- 8 oz mini marshmallows
- 1 tbsp fresh lemon zest Why this? Concentrated oils provide the strongest citrus punch
- 1 tsp fresh lemon juice
- 1/4 tsp salt
- 2 large egg whites Why this? Room temp whites whip up faster and bigger
- 1/2 cup superfine sugar Why this? Dissolves instantly for a velvety finish
- 1/4 tsp cream of tartar
- 1/2 tsp pure lemon extract
- 1 pinch salt
| Original Ingredient | Substitute | Why It Works |
|---|---|---|
| Superfine Sugar | Granulated Sugar | Same sweetness. Note: Meringue may be slightly grainier |
| Unsalted Butter | Coconut Oil | Similar fat content. Note: Adds a mild coconut flavor |
| Crispy Rice Cereal | Puffed Rice | Similar crunch. Note: Texture is lighter and less "chewy" |
If you're planning a bigger spread, these pair wonderfully with a savory appetizer. For example, if you're hosting a party, serving these alongside some Bang Bang Shrimp Tacos creates a great balance of spicy and sweet.
Equipment Needed
You don't need a professional kitchen, but a few tools make this foolproof. A heavy bottomed pot is a must to avoid scorching the butter.
- 9x9 inch baking pan (lined with parchment)
- Large pot or microwave safe bowl
- Electric hand mixer or stand mixer (like a KitchenAid)
- Offset spatula (for those pretty swirls)
- Kitchen torch (or a broiler)
- Rubber spatula
Bringing It Together
Let's crack on. The key here is to work quickly once the marshmallows melt, as they start to set the moment they hit the cereal.
Prepping the Zesty Base
- Melt the butter over low heat in a large pot or microwave safe bowl. Note: Keep the heat low to avoid browning the butter
- Stir in the mini marshmallows, stirring constantly until the mixture is velvety and smooth.
- Quickly fold in the lemon zest, lemon juice, and salt.
- Gently fold in the crispy rice cereal until every piece is evenly coated.
- Press the mixture lightly into a prepared 9x9 inch baking pan. Note: Don't pack it too tightly or it becomes hard
Whipping the Velvet Peaks
- Beat the room temperature egg whites and cream of tartar on medium speed until soft peaks form.
- Gradually add the superfine sugar, increasing the mixer speed to high, and whip until the peaks are stiff and glossy.
- Gently fold in the lemon extract using a spatula to maintain aeration. Note: Use a slow "over and under" motion
Achieving the Toasted Glow
- Spread the meringue evenly over the cooled cereal base, creating decorative swirls and peaks with an offset spatula.
- Brown the peaks of the meringue using a kitchen torch or by placing under a broiler for 60-90 seconds until mahogany colored.
- Chill the treats for 1 hour to allow the meringue to set before slicing into 12 squares.
Chef's Note: If using a broiler, stay right there and watch it. It can go from "toasted" to "burnt" in about 5 seconds. Use a torch for more control and those professional looking highlights.
What Can Go Wrong (and How to Fix It)
Even the best of us mess up. Usually, the issues with a Rice Krispie Treat with Toasted Meringue come down to moisture or heat.
Troubleshooting Common Issues
| Issue | Solution |
|---|---|
| Why Your Meringue Is Weeping | This usually happens if the sugar wasn't fully dissolved or if the meringue sat too long before being toasted. The syrup separates from the protein, creating those little beads of water on top. To avo |
| Why Your Base Is Too Hard | If you overcook the marshmallows or press the mixture too firmly into the pan, you'll end up with a brick. The goal is a light press that holds the shape but keeps some air between the cereal pieces. |
| Why Your Meringue Collapsed | This is almost always due to a tiny bit of fat or egg yolk getting into the whites. Even a drop of oil in your bowl can prevent the proteins from bonding. |
Common Mistakes Checklist:
- ✓ Did you use room temperature egg whites?
- ✓ Is your mixing bowl completely grease free?
- ✓ Did you avoid packing the base too tightly?
- ✓ Did you use a low heat for the marshmallows?
- ✓ Did you let the treats chill for the full hour?
Make It Your Own
Once you've got the basic Treat with Toasted Meringue down, you can start playing with the flavors. This recipe is a great canvas for other bright tastes.
Decision Shortcut:
- If you want more tartness → add a teaspoon of citric acid to the base.
- If you want a fruity twist → swirl a bit of raspberry jam into the cereal base.
- If you want more crunch → swap 1 cup of rice cereal for crushed pretzels.
For those who love a sweet and salty mix, these are great when served alongside some Cinnamon Sugar Chex Mix. The cinnamon warmth complements the sharp lemon perfectly.
Adjusting the Batch Size
If you're making a smaller or larger batch, keep these rules in mind:
Scaling Down (Half Batch): Use a 5x5 or 6x6 inch pan. You'll need to beat one egg and separate it, then use half of the white (about 1.5 tbsp). Reduce your cooking time by about 20%.
Scaling Up (Double Batch): Use two 9x9 pans rather than one giant pan to ensure the meringue toasts evenly. Only increase the salt and lemon extract to 1.5x to avoid overpowering the flavor. Work in batches when whipping the meringue to ensure it doesn't lose volume.
Storage & Reheating
Since this is a Treat with Toasted Meringue, you have to be careful with moisture. Meringues hate humidity.
Storage Guidelines: Store these in an airtight container in the fridge for up to 3 days. If you leave them on the counter in a humid kitchen, the meringue will start to soften and lose its structure.
Freezing Tips: You can freeze the base, but I don't recommend freezing the finished treat with the meringue. The freezing and thawing process can cause the meringue to collapse and become tacky. If you must freeze, wrap individual squares in parchment paper and store in a freezer bag for up to 1 month.
Zero Waste Tip: Don't throw away the leftover egg yolks! You can use them to make a quick lemon curd, which you can dollop on top of the treats for an extra layer of richness.
How to Serve and Enjoy
To get that bakery worthy look, slice these with a hot knife. Dip the knife in hot water and wipe it dry between every single cut. This ensures you get a clean edge through the sticky meringue and the crispy base without squishing the treat.
For a real showstopper, serve these on a white platter with a few fresh raspberries and a dusting of powdered sugar around the edges. The contrast between the mahogany colored peaks and the bright red berries is stunning.
Since this is a Lemon Meringue Rice Krispie Treat, it's best served slightly chilled. The contrast between the cool, creamy meringue and the shatter crisp cereal is what makes this recipe so addictive. Trust me, one square is never enough.
Recipe FAQs
Can you make rice crispy treats with meringue?
Yes, by layering a toasted meringue on top of a lemon infused cereal base. If you enjoy this balance of textures, see how we achieve a similar ultimate crunch in our granola.
How to get crispy meringue on these treats?
Brown the peaks with a kitchen torch or place under a broiler for 60 90 seconds. This creates a mahogany colored, crisp exterior while keeping the inside fluffy.
What does adding condensed milk to rice krispie treats do?
It creates a denser, fudgier texture, though it is not used in this recipe. We rely on melted butter and marshmallows to keep the lemon flavor bright and the base light.
What are common mistakes when making these treats?
Overpressing the cereal base or failing to dissolve the sugar in the meringue are the most frequent errors. Pressing too hard makes the treats brick like, while undissolved sugar causes the meringue to weep.
Why is my meringue weeping or forming water beads?
The sugar likely wasn't fully dissolved or the meringue sat too long before toasting. This causes the syrup to separate from the protein, creating small beads of moisture on the surface.
Can I freeze these treats to keep them longer?
Freeze only the cereal base, not the finished treats with meringue. Thawing causes the meringue to collapse and become tacky; store completed squares in the fridge for up to 3 days.
How to prevent the cereal base from becoming too hard?
Press the mixture lightly into the 9x9 inch pan. Avoid overcooking the marshmallows or packing the cereal too tightly to maintain a light, airy consistency.
Lemon Meringue Rice Krispie Treats