Proper Smoked Venison Jerky Recipe for Dehydrator or Oven
- The Hiker's Cracker: Why This Proper Venison Jerky is Your Next Trail Staple
- Sourcing and Preparing the Meat: Essential Ingredients for Superior Jerky
- Achieving Peak Flavor: The Science Behind Perfect Venison Jerky Curing
- Step-by-Step Guide: Transforming Sliced Venison into Edible Fuel
- Troubleshooting and Pro-Tips for Maximizing Your Venison Jerky Batch
- Post-Production Protocol: Storage, Shelf Life, and Serving Pairings
- Recipe FAQs
- 📝 Recipe Card
The Hiker's Cracker: Why This Proper Venison Jerky is Your Next Trail Staple
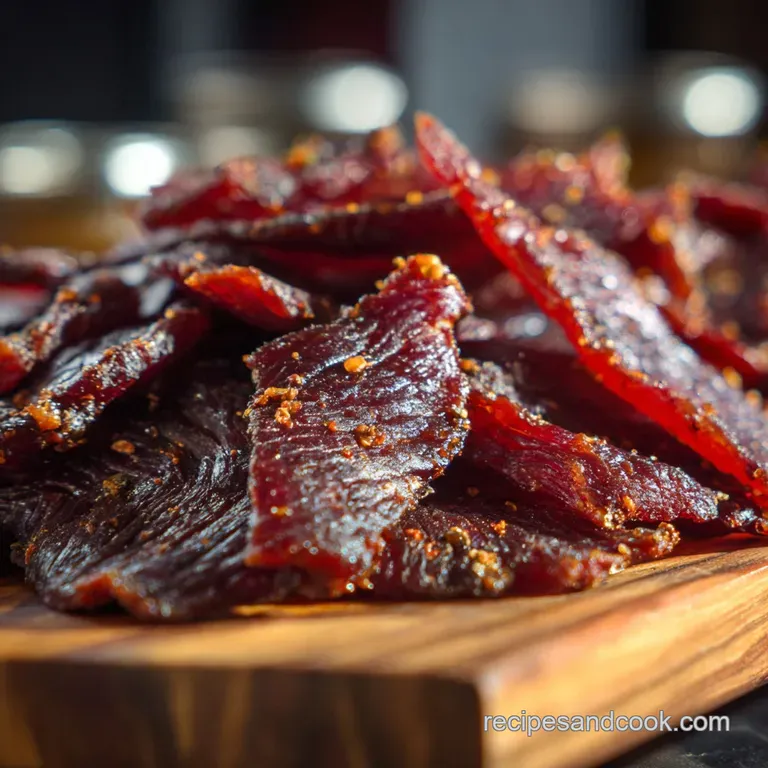
Stop everything. When this venison jerky is drying, the complex smell of cracked black pepper and rich woodsmoke takes over the entire house. It’s absolutely addictive, honestly. That perfect salty sweet chew is exactly the texture you crave, never brittle or dusty.
Forget those outrageously expensive little packets at the outdoor gear shop that taste manufactured and thin. Making your own venison jerky is surprisingly simple, inexpensive, and uses up those incredibly lean cuts beautifully.
It’s pure, clean fuel for your next long hike, a camping trip, or just dealing with that desperate 3 pm energy slump.
We are going to achieve peak texture and a deep, complex flavour profile that commercial brands simply cannot match. Grab your sharpest knife, because we are about to make the ultimate "Hiker's Cracker" that everyone will be asking about.
Defining the Perfect Jerky Texture: Chewy vs. Brittle
This recipe aims for chewy, traditional jerky, not the brittle, snap-in-half stuff. That desirable texture comes down entirely to three things: precise slicing, proper fat trimming, and low and slow heat. You need the heat low enough to evaporate the water, but not so high that it cooks the protein.
The Essential Role of Smoke and Pepper in Our Recipe
Venison has a deep, almost earthy flavour that stands up beautifully to bold seasoning. We use a combination of Liquid Smoke and Smoked Paprika to fake a full smokehouse environment, giving you that authentic, woody depth. The black pepper?
We use a coarse grind for texture and flavour burst; it’s non-negotiable for a truly robust jerky.
Equipment Check: Oven, Dehydrator, or Smoker?
You do not need a fancy dehydrator to pull this off, although it certainly helps maintain consistent low heat. I started making jerky in my standard kitchen oven, propped open with a wooden spoon it works perfectly well!
The key is air circulation and maintaining that low 160°F (70° C) temperature. If you have a smoker, that's the ultimate method for next level flavour, but a decent dehydrator gives you the most control over temperature and humidity.
Sourcing and Preparing the Meat: Essential Ingredients for Superior Jerky
This recipe works because we treat the venison lean cut with the respect it deserves, stripping away everything that can go wrong during the drying process. Venison is brilliant because it is naturally low in fat, which is the number one enemy of jerky; fat turns rancid quickly.
The key to our incredible flavour base is maximizing umami depth using a combination of concentrated, salty liquids.
| Ingredient | Role in the Recipe | Viable Substitution |
|---|---|---|
| Lean Venison | The primary protein; needs to be fat-free. | Lean Beef Top Round or Flank Steak. |
| Soy Sauce | Provides crucial salinity and amino acids (umami). | Tamari (for gluten-free) or Coconut Aminos. |
| Worcestershire Sauce | Adds complexity, acidity, and deep savoury notes. | Equal amounts of Balsamic Vinegar + a pinch of sugar. |
| Liquid Smoke | Supplies a rich, authentic smokiness without fire. | Double the Smoked Paprika for a milder, dry smoke flavour. |
| Dark Brown Sugar | Balances the salt/pepper; aids in curing and texture. | Maple Syrup or Honey (note: may make it slightly stickier). |
Achieving Peak Flavor: The Science Behind Perfect Venison Jerky Curing

Which Cuts of Venison Work Best for Slicing?
You need lean muscle with minimal connective tissue. The Venison Haunch (leg) or the Top Round are absolute winners because they offer large, clean surfaces ideal for long, uniform strips.
Avoid cuts near the shoulder or neck, as these usually have too much fascia and odd fat pockets.
The Required Thickness: Precision Slicing Against the Grain
Listen, this is where most people fail and end up with hard, brittle jerky. Your goal is 3 mm (or about ⅛ inch) thickness. Seriously, get a ruler. This uniform thickness guarantees that every piece finishes drying at the same time.
Slice against the grain for tender jerky that is easier to chew, or slice with the grain if you prefer that traditional, rope like resistance.
Defining the Marinade Base: Soy Sauce, Worcestershire, and Liquid Smoke Dynamics
The marinade isn't just flavour; it's a curing agent. The salt from the soy sauce draws out moisture from the venison cells, and the Worcestershire sauce acts as a tenderizer thanks to its mild acidity.
The liquid smoke is added at this stage so the wood flavour penetrates deep into the fibres, not just sitting on the surface.
Pungency Levels: Adjusting the Black Pepper Grind
For this recipe, we specifically call for coarse ground black pepper. Fine pepper will dissolve into the marinade and taste simply hot. Coarse pepper adheres to the outside of the strips, creating tiny pockets of intensely peppery flavour that burst when you chew.
If you love heat, use a mortar and pestle to crack your pepper freshly it makes a difference.
Leveraging Venison's Leanness for Optimal Drying
Because venison is so inherently lean, it dries faster and holds its texture better than beef. The lack of fat means we don't have to worry about rendering or greasiness. This is why venison is arguably the best meat for homemade jerky.
You are maximizing protein content while minimizing drying time.
The Role of Sugar in Texture and Counterbalancing Pepper Heat
While traditional jerky purists might scream, the brown sugar is essential. It counterbalances the intense salinity and pepper heat, creating a more balanced flavour profile. More importantly, it contributes to the final texture, giving the finished jerky a slight, pleasurable pliability rather than making it feel like splintered wood.
step-by-step Guide: Transforming Sliced Venison into Edible Fuel
Phase I: The Two-Day Marinade and Meat Preparation
- Trim and Freeze (The Cheat Code): Absolutely, ruthlessly trim every speck of fat and silver skin off the venison roast. Then, wrap it tightly and stick it in the freezer for about 90 minutes. You want it rock hard on the outside but still slightly pliable in the centre.
- Slice Like a Pro: Using that semi frozen state, slice the meat into strips exactly ⅛ inch (3 mm) thick. Consistent thickness is the key to life.
- Mix the Magic: Whisk together all your wet ingredients (Soy, Worcestershire, Water, Liquid Smoke, Vinegar) with the sugars and dry spices until everything is dissolved. Add the optional curing salt now, if you are using it.
- Marinate Deeply: Toss the strips into the marinade, ensuring they are all coated, and transfer to a large zip-top bag. Push out all the air. Refrigerate for 12 to 24 hours. I highly recommend the full 24 hours for maximum flavour penetration.
Phase II: Drying Methods for Venison Jerky (Oven vs. Dehydrator)
- The Paper Towel Ritual (Don't Skip This): Pull the meat out and discard the marinade. Lay the strips out flat on heavy layers of paper towels and blot them aggressively dry on both sides. Removing this surface moisture is vital; it prevents steaming and speeds up dehydration.
- Load the Racks: Arrange the strips on your dehydrator trays or oven racks without overlapping. Circulation is paramount here.
- Oven Method: Set your oven to the lowest possible temperature (60°C 75°C / 140°F 165°F). Prop the door open slightly (use a wooden spoon) and dry for 5 to 8 hours. Rotate the trays frequently.
- Dehydrator Method: Run the unit at 63°C (145°F) for the first hour for food safety, then drop it to 55°C (130°F) for the remainder of the drying time (4 to 7 hours).
Determining Doneness: The Bend and Snap Test
Start checking the jerky around the five hour mark. The strips should feel firm, dry, and leathery. To perform the test, take a strip, let it cool for a minute, and bend it sharply. It should bend deeply and crack slightly it should not snap completely in half.
Crucially, when you flex it, no beads of moisture or fat should emerge. If they do, put it back in for another hour.
The Cool Down Protocol: Achieving Room Temperature Integrity
Once the jerky passes the bend test, turn off the heat but leave the strips on the racks until they are completely cool, maybe an hour or two. This cooling time allows the remaining heat to dissipate slowly and helps lock in that perfect texture. Don't rush it by piling them up hot; that invites moisture build-up.
Troubleshooting and Pro-Tips for Maximizing Your Venison Jerky Batch
Preventing Case Hardening: Managing Humidity During Drying
Case hardening happens when the outside of the jerky dries faster than the inside , essentially trapping moisture within the meat. To fix this, you need good air circulation. If you use an oven, make sure that wooden spoon is propping the door open wide enough.
If you’re using a dehydrator, rotate the trays often. If the jerky starts to feel hard on the outside but squishy inside, slightly reduce the heat and increase the circulation.
Chef's Note: If you suspect case hardening late in the process, you can sometimes fix it by placing the jerky strips in an airtight container at room temperature for an hour. This allows the internal moisture to redistribute evenly, but it's risky it’s better to avoid it entirely by drying low and slow.
A Food Safety Note: The Importance of a Pre-Drying Heat Step
Because we are drying the meat at low temperatures, there is a risk involved. To comply with modern food safety standards, particularly if you are making uncured jerky, you should apply a short burst of high heat before or after drying.
I recommend heating the jerky to an internal temperature of 70°C (160°F) for ten minutes before the low and slow drying process begins. This step neutralizes potential bacteria without compromising the texture too much.
Salvaging Slices That Are Too Thick or Too Thin
If you have a batch of mixed thicknesses, pull the thinnest pieces out first. They will dry much faster and should be checked after only 4 hours. If a slice is simply too thick (say, half an inch), you have two options: slice it thinner immediately after marinating, or accept that it will need to dry for 10- 12 hours and will yield a much tougher, more rope like chew.
Post Production Protocol: Storage, Shelf Life, and Serving Pairings
Optimizing Shelf Life: Air-Tight Containers vs. Vacuum Sealing
If you didn't use pink curing salt, your jerky is best stored in the refrigerator for up to three weeks. If it was properly cured and dried, it can be kept in a sealed container at room temperature (in a cool, dark pantry) for about a month. For truly Long Term storage, vacuum sealing is the ultimate move.
It removes oxygen and moisture risk, extending shelf life to six months or more in the pantry.
Freezing Smoked Jerky for Long Term Preservation
But does it freeze well? You bet it does. If you have a huge batch and want to save some for next season's hikes, just toss the fully cooled jerky into high-quality zip-top bags or vacuum seal it. Freeze the portions flat. It will keep perfectly in the freezer for up to a year.
To serve, simply thaw at room temperature; the texture holds up beautifully because of the low moisture content.
Ideal Beverage Pairings for Peppery Venison Jerky
The deep, peppery, smoky flavour of this venison jerky demands a bold partner. A crisp, bitter IPA is the absolute best match; the hops cut through the fat-free saltiness perfectly. Alternatively, for a non-alcoholic pairing, try a smoky, earthy Black Tea or a deeply brewed Ginger Beer.

Recipe FAQs
Q1: Why is my finished venison jerky brittle or too dry?
This usually indicates the jerky was over dried or cooked at too high a temperature. Jerky should bend easily without snapping, allowing for a good chew; if it breaks, reduce the drying time in future batches.
To potentially salvage an overly dry batch, store it in an airtight container with a small piece of bread for 24 hours to allow for slight moisture absorption.
Q2: How should I slice the venison, and should I cut with or against the grain?
Slice the venison uniformly between 1/8 and 1/4 inch thick for the most even drying process. Cutting the meat with the grain results in a much chewier, traditional jerky texture that takes longer to eat. Conversely, slicing against the grain produces a more tender, easier-to-chew final product.
Q3: How long does homemade venison jerky last, and what is the best storage method?
When fully dried and properly cooled, homemade venison jerky is shelf stable and typically lasts 1 to 2 months stored in an airtight container away from heat and light. For optimal preservation and to extend the life, vacuum seal the jerky and store it in the freezer, where it will remain high-quality for up to six months.
Q4: I see white spots forming on my jerky after a week is it mold?
If the spots are fuzzy or slimy, discard the jerky immediately as it is indeed mold. However, if the white spots are dry and appear crystalized, they are most likely harmless salt crystals or small fat deposits that have migrated to the surface, and the jerky is still safe to consume.
Q5: Can I use a standard kitchen oven instead of a dehydrator for this recipe?
Yes, an oven is an acceptable substitute, provided you maintain a very low temperature (around 160°F to 175°F). Crucially, you must prop the oven door open slightly with a wooden spoon or similar implement to allow the moisture released by the meat to escape.
This ensures the venison dries out rather than bakes.
Q6: Can I use different cuts of meat, or should I stick strictly to venison?
You can successfully substitute other very lean cuts of red meat, such as beef top or bottom round, or flank steak, as these share the low-fat content necessary for safe preservation. Always trim off every visible piece of fat, as fat does not dry out and will cause the jerky to spoil very quickly.
Q7: How can I adjust the marinade to achieve a spicier or sweeter flavor profile?
To increase the heat, add 1 to 2 teaspoons of cayenne pepper or replace some of the black pepper with cracked chili flakes in the initial marinade mix. For a distinctly sweeter finish, you can increase the amount of brown sugar or add a tablespoon of molasses before the meat starts its curing process.
Smoked Peppery Venison Jerky

Ingredients:
Instructions:
Nutrition Facts:
| Calories | 497 kcal |
|---|---|
| Protein | 66.1 g |
| Fat | 9.3 g |
| Carbs | 26.0 g |
