Hibachi Steak: Garlic Butter Basted Perfection
- Beyond the Flipping Spatula: Mastering the Steakhouse Sizzle at Home
- The Science of Sear: Why This Method Guarantees Maximum Flavor
- Essential Components for Your Japanese Steakhouse Feast
- The Chef's Flow: Executing the Hibachi Technique
- Expert Adjustments and Troubleshooting Hibachi Steak
- Maximizing Freshness: Handling Leftovers
- Completing the Plate: Ultimate Serving Pairings
- Recipe FAQs
- 📝 Recipe Card
Beyond the Flipping Spatula: Mastering the Steakhouse Sizzle at Home
The sound of cubes of steak hitting a screaming hot iron griddle, followed by that magnificent rush of garlic infused steam, is pure magic. That aroma, that deep, complex Maillard reaction scent, is exactly what we’re chasing when we make Hibachi Steak at home.
The goal isn't just cooked meat; it’s tender, umami rich perfection with a buttery crust that totally screams Japanese steakhouse.
Look, dining out is pricey, and those skilled Teppanyaki chefs move way too fast for me to steal their secrets. This Hibachi Steak recipe is your ultimate weeknight cheat code.
It’s incredibly fast less than 10 minutes of cook time and it delivers the intense, caramelized flavor you crave without the mandatory 20% tip. It’s a total lifesaver for impressive, budget friendly dinners.
I’ve spent years trying to replicate that specific flavor profile the rich, garlicky, slightly savoury sweetness that elevates the dish. After many tragic, steamed, grey steak attempts, I finally cracked the code, and trust me, it’s all about high heat and timing.
Let’s stop talking about it and get this sensational Easy Hibachi Steak Recipe searing!
The Science of Sear: Why This Method Guarantees Maximum Flavor
We are not gently pan-frying here; we are aggressively searing. This entire cooking method hinges on understanding how heat interacts with the meat’s surface. If you nail the initial sear, the rest of the Homemade Hibachi Steak preparation is simple.
What Defines the Hibachi Cooking Style?
Historically, Hibachi translates to "fire bowl" and involved cooking over a charcoal brazier, usually for heating purposes, but the term evolved in the West to describe the dramatic, over high heat grilling performed on a flat, solid griddle (Teppanyaki style).
What sets this style apart is the intense, direct heat source and the technique of slicing the protein into small, uniform cubes. This maximises the surface area, ensuring every bite of your Hibachi Steak gets that gorgeous, caramelized crust.
Why Traditional Teppanyaki Techniques Elevate the Sear
The traditional Teppanyaki surface is cast iron or thick steel, retaining unbelievable heat. When you cook your Hibachi Steak in a heavy cast iron skillet, you are mimicking that thermal mass.
A cheap stainless steel pan simply won’t cut it; it loses heat too quickly the moment you introduce cold ingredients. We need that constant, brutal heat to trigger the Maillard reaction instantaneously.
Decoding the Essential Flavors of the Hibachi Plate
The flavor profile is deceptively simple: soy sauce, sesame oil, garlic, and butter. The soy sauce provides deep, fermented umami, while the sesame oil adds a nutty, aromatic background note.
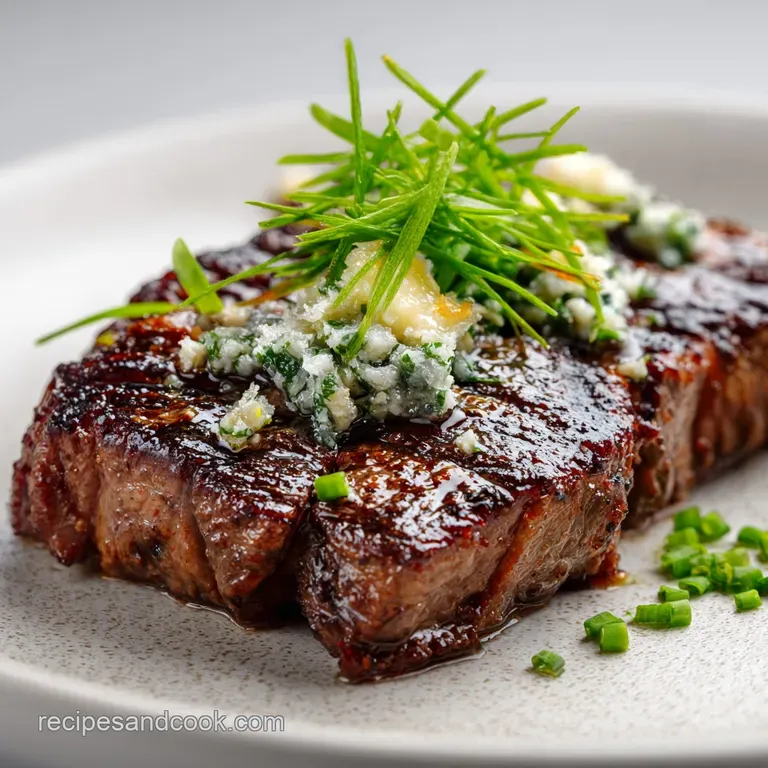
But the real star in making authentic Hibachi Steak taste like it came from a dedicated steakhouse is the finishing garlic butter baste. It adds richness and moisture that prevents the meat from drying out under the intense heat.
Achieving the Perfect Crust (The Maillard Reaction)
A perfect crust requires dry surface protein and heat above 300°F (150°C). That’s why we pat the cubed steak dry before the initial light marinade, and it’s why we rest the steak at room temperature.
Any moisture on the surface will immediately drop the pan temperature and create steam the enemy of a crunchy crust. Achieving a proper sear is the first hurdle in mastering this delicious Hibachi Steak preparation.
The Power of the Garlic Butter Baste Finish
We don't just dump butter in the pan. We gently melt the butter with garlic and soy sauce separately , then introduce it right at the end of the cooking process. Adding cold butter right into the pan would drop the temperature too quickly.
By basting with already warmed Garlic Butter Hibachi Steak sauce, we bathe the meat in flavour while simultaneously moderating the pan temperature just enough to finish cooking the interior without burning the crust. It’s a genius move, really.
Temperature Control: The Key to Tender Results
If your steak is cold, the high heat will cook the outside before the centre even starts warming up. You'll end up with a huge grey band of overcooked meat beneath the crust. Bringing the cubed steak to room temperature ensures that once that crust forms, the heat can penetrate evenly, leading to an edge-to-edge pink interior.
You want your Hibachi Steak tender, not tough, right?
Essential Components for Your Japanese Steakhouse Feast
You don’t need a complicated marinade for classic Hibachi Steak . We rely on the initial over high heat sear and the finishing baste to build depth.
Selecting the Best Steak Cut for Hibachi Style Cooking
I swear by Sirloin (especially top sirloin) for this application. It’s got a great beefy flavour, holds its shape when cubed, and isn't quite as rich or expensive as Filet Mignon, though Filet Mignon yields the most tender bite.
| Ingredient | My Top Choice | Substitution |
|---|---|---|
| Steak Cut | Sirloin (Top or Strip) | Ribeye (more fat, richer flavour) or Flank (slice thinly against the grain first) |
| Soy Sauce | Low Sodium Tamari | Coconut Aminos (for gluten-free/low-sodium) |
| Sesame Oil | Toasted | Olive Oil (not ideal, but adds richness; skip if possible) |
| Courgette (Zucchini) | Fresh Green Courgette | Broccoli florets or Asparagus tips |
| Yellow Onion | Spanish Onion | Shallots or Sweet Vidalia Onion |
| Unsalted Butter | European Style (high fat) | high-quality vegan butter or Ghee |
| Neutral Oil | Canola or Rapeseed | Grapeseed or Avocado Oil (high smoke point) |
Building the Quick Yum Yum Sauce Base
This creamy, slightly tangy sauce is non-negotiable for the true Hibachi Steakhouse experience. The base is simple: mayonnaise and ketchup.
Chef’s Note: Use full fat, quality mayonnaise. This sauce needs to be rich and stable. If you try to use a low-fat version, the sauce often separates or tastes watery once the vinegar is added.
The Secret Weapons: Aromatic Elements and over High heat Fats
Garlic is the powerhouse here. You must use fresh garlic, finely minced. The pre-minced stuff in a jar just doesn’t have the same pungent intensity that the butter needs to absorb. For the searing fat, use a high smoke-point oil.
We are going way past the temperature where olive oil starts smoking and tasting bitter. The initial sear oil must be neutral and reliable.
The Chef's Flow: Executing the Hibachi Technique
This is where technique reigns supreme. Follow these steps exactly, and you will achieve flawless, juicy Hibachi Steak .
Phase I: Preparing the Yum Yum Sauce Ahead of Time
Seriously, make the sauce first. It needs to chill for at least 30 minutes for the flavours to marry properly and for the consistency to thicken slightly. Whisk the mayo, ketchup, sugar, vinegar, and smoked paprika until smooth.
If it’s too thick, add water, one teaspoon at a time, until it flows easily but still coats the back of a spoon. Store it cold!
Phase II: Achieving the Proper Pan Temperature
This step is the most critical for a restaurant quality result. Place your cast iron skillet over the highest heat setting your stovetop offers. Wait 5 to 7 minutes. How do you know it’s ready?
When you add the neutral oil, it should shimmer instantly and start to send up whisps of smoke within 30 seconds. If it just sits there looking bored, you haven't hit the right temperature yet. If your pan isn't hot enough, you won't get a good sear on your Hibachi Steak .
Phase III: The over High heat Sear and Initial Cook
Add your onions and courgette first, with half the neutral oil. Sauté them hard and fast until they are tender crisp and have dark, blistered edges about 3 minutes. Remove the vegetables immediately and set them aside.
Now, crank the heat back up if necessary and add the remaining oil. Add the room temperature steak cubes, ensuring they are placed in a single layer. Do not overcrowd the pan. If you hear sizzling slow down, you need to pull some steak out and work in batches.
Sear for 90 seconds without touching them. That silence is the sound of a perfect crust forming on your Homemade Hibachi Steak .
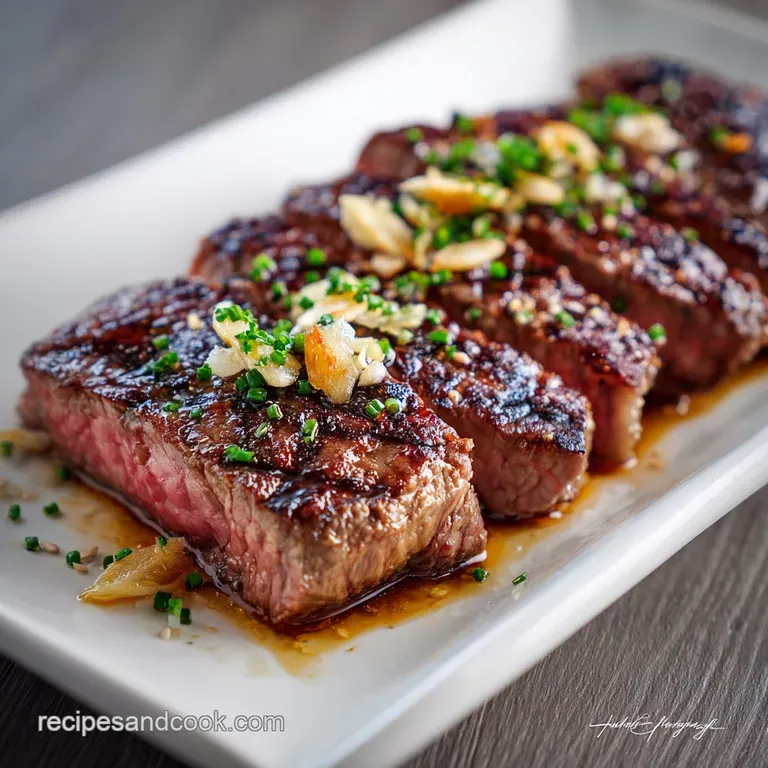
Phase IV: Basting the Steak to Perfection
After the initial 90 second sear, flip the steak cubes using tongs. They should release easily and show a deep brown, almost black, crust. Now, reduce the heat to medium high. Add the warm garlic butter baste to the pan, and start tilting the pan slightly while spooning or brushing the garlic butter over the steak continuously.
This gentle basting action is how you lock in moisture and flavor for the best Garlic Butter Hibachi Steak . Cook until they reach your desired internal temperature (135°F / 57°C is my preferred medium rare).
Expert Adjustments and Troubleshooting Hibachi Steak
We all make mistakes, myself included. I once tried to sear steak after forgetting to pat it dry, and the result was a pool of grey disappointment. Learn from my errors and keep these fixes in mind.
Avoiding the Dreaded Steamed Steak
This happens when the heat is too low, or the pan is overcrowded. Always use a high smoke point oil, and always pre-heat the pan for longer than you think you need to. If you see liquid pooling around the bottom of the meat, pull the pieces out immediately, dry the pan, crank the heat, and start again in smaller batches.
Steaming is the fastest way to ruin a delicious Hibachi Steak .
The Importance of Uniform Cubes
If your steak cubes are irregular (some big, some small), they will cook unevenly. The tiny pieces will be well done jerky, while the large pieces are still rare. Aim for uniform 1 inch (2.5 cm) cubes. This preparation helps ensure that every bite of your Hibachi Steak is consistently perfect.
Dealing with Splatter
Yes, over high heat searing creates splatter. This is normal. Do not panic and reduce the heat substantially, or you will lose your sear. The trade off for a beautiful crust is a messy stovetop. Wear an apron and embrace the over high heat drama!
I swear, focusing on even cooking is paramount. It’s the same dedication to precision you’d see in complex recipes, like nailing the perfect core temperature when making a Gordon Ramsay Beef Wellington Recipe Perfectly Cooked Steak . Rest your meat!
Maximizing Freshness: Handling Leftovers
Real talk: Hibachi Steak is best eaten immediately, straight out of the pan. But sometimes, you have leftovers, and that's okay. We just need to handle them carefully.
Safe Refrigeration Guidelines for Cooked Steak
Once the steak has cooled down slightly (but within two hours of cooking), transfer it to an airtight container. It will keep safely in the refrigerator for 3 to 4 days. Store the Yum Yum sauce separately, as it contains mayonnaise and needs to remain consistently chilled.
Reheating Steak Without Drying It Out
Never, ever microwave steak. It turns it into rubber instantly. The best way to reheat your leftover Hibachi Steak is low and slow. Place the steak cubes in a single layer on a foil lined baking sheet and warm them in a low oven (around 250°F / 120°C) for about 8 to 10 minutes, or until just heated through.
Can Yum Yum Sauce Be Frozen?
Absolutely not. Freezing any emulsion sauce like this (which is mayonnaise based) will cause it to break. When thawed, it will separate into an oily mess. Yum Yum sauce is designed to be made quickly, chilled, and eaten within a week.
Completing the Plate: Ultimate Serving Pairings
The classic pairing for your magnificent Hibachi Steak is simple rice, often stir fried with egg and soy. This is the meal, perfected.
The Carryover Cooking Rule (For Perfect Doneness)
Remember that your steak continues to cook even after you remove it from the heat. If you pull it at 135°F (medium rare), it will likely rise another 5 degrees to a perfect 140°F while it rests. Pull the meat slightly before it hits your target temperature.
This resting period of 5 minutes is mandatory; don't skip it, or all the beautiful juices will run out onto your cutting board instead of staying inside your tender Hibachi Steak .
Avoiding the Dreaded Steamed Steak
Seriously, I cannot overstate this: if your pan is not hot enough, your steak will suffer. Use the right pan, use the right oil, and don't be shy about turning that heat up. That initial, intense sear is the foundation of a great Hibachi Steak .
Adjusting the Pan for Different Cooktop Types
If you have gas burners, you have an advantage; they respond quickly to adjustments. If you’re on induction or electric coil, you need to manage heat preemptively. Reduce the temperature slightly before adding the garlic butter baste, knowing that the coil takes a moment to cool down.
Achieving truly authentic Hibachi Steakhouse quality means knowing your equipment.
I love this Hibachi Steak recipe because it proves that restaurant quality food isn't magic; it's just careful attention to heat. This Easy Hibachi Steak Recipe is ready to go viral in your kitchen, so grab that cast iron and let's get searing!
Enjoy this flavour packed meal!

Recipe FAQs
What is the best cut of beef to use for an authentic Hibachi experience?
The best cuts are those with good marbling that stand up well to high heat, such as Ribeye, New York Strip, or Tenderloin (Filet Mignon). Ribeye is traditionally favored for its intense flavor and tenderness achieved through rapid cooking on the extremely hot surface.
Why is my steak not developing a proper sear or crust?
The primary reasons are insufficient pan heat or crowding the cooking surface. You must use a cast iron skillet or heavy griddle preheated until it is nearly smoking hot to achieve the Maillard reaction. Crucially, ensure you pat the steak completely dry before seasoning, as moisture prevents crust development.
What type of oil should I use considering the required high heat?
You need an oil with a very high smoke point to withstand the intense heat required for proper Hibachi searing without burning. Avocado oil, grapeseed oil, or refined peanut oil are excellent choices, unlike olive oil, which will smoke and break down too quickly.
Is the Garlic Butter Baste optional, or is it crucial to the flavour?
While technically optional, the Garlic Butter Baste is critical for developing the classic steakhouse richness and aromatic complexity that defines Western style Hibachi steak. The basting technique melts the butter, garlic, and herbs into the steak's crust, enhancing both the flavour and moisture profile significantly.
How can I ensure I cook the steak to the perfect internal temperature without guessing?
The most reliable method is using an instant read meat thermometer inserted horizontally into the thickest part of the steak. Aim for 135°F for Medium Rare, but remember to pull the steak off the heat approximately 5 degrees below your target temperature, as it continues cooking while it rests.
How should I store leftover Hibachi steak and how do I reheat it without drying it out?
Store leftover steak in an airtight container in the refrigerator for up to 3 days. To reheat, slice the steak thinly and briefly warm it in a skillet with a small splash of beef broth or water, covering the pan for 30 seconds to generate steam and retain moisture.
I don't have time to make the Quick Yum Yum Sauce. What is a fast substitute?
A quick alternative that captures the necessary creamy, sweet, and tangy profile is a simple mix of mayonnaise, a dash of ketchup or tomato paste for colour, a spoonful of sugar, and a splash of rice vinegar. This combination provides a rapid, acidic counterpoint to the rich, buttery beef.
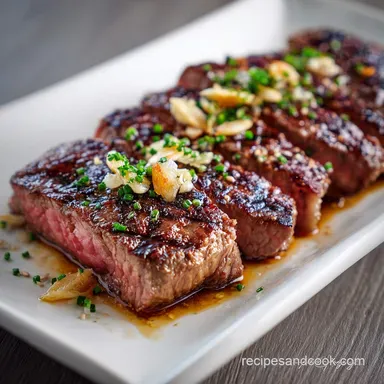
Proper Sear Hibachi Steak Recipe
Ingredients:
Instructions:
Nutrition Facts:
| Calories | 415 calories |
|---|---|
| Fat | 25 g |
| Fiber | 3 g |
