Kitchenaid Ice Cream: Vanilla Custard Essential
- Achieving Culinary Excellence: Why Homemade Custard Ice Cream is Superior
- Defining Your Flavor Profile: Ingredient Quality Notes
- The Science of Silk: What Makes This Vanilla Bean Base So Smooth
- Mastering the Method: Step-by-Step for Perfect Custard Ice Cream
- Troubleshooting and Expert Secrets for KitchenAid Ice Cream Success
- Extending Shelf Life: Storing Your Homemade Indulgence
- Elevating the Experience: The Best Pairings for Vanilla Bean Ice Cream
- Recipe FAQs
- 📝 Recipe Card
Achieving Culinary Excellence: Why Homemade Custard Ice Cream is Superior
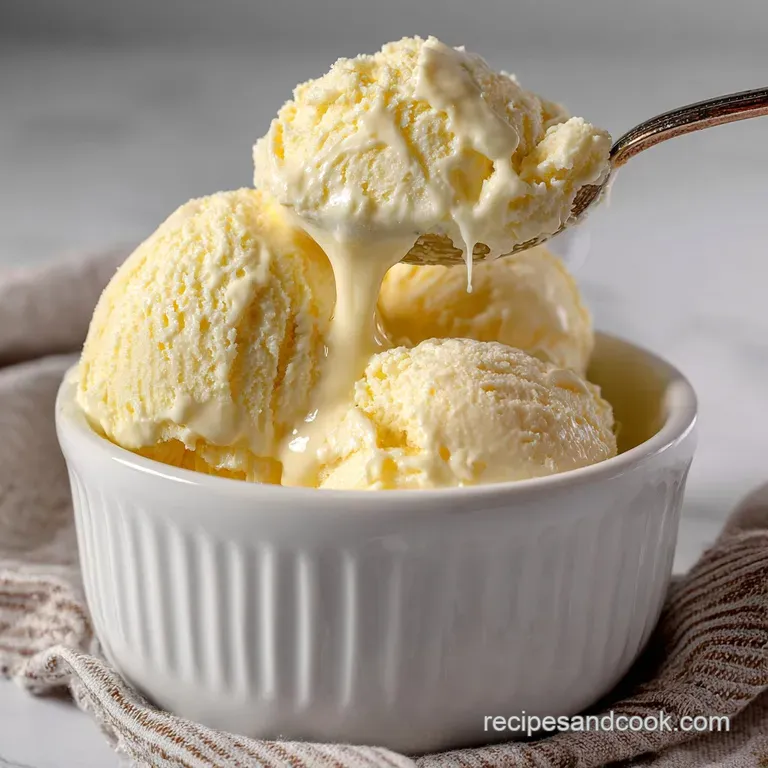
Forget everything you thought you knew about vanilla ice cream. This homemade KitchenAid Ice Cream is pure silk, dense and rich, clinging to your spoon instead of dissolving into an icy puddle.
It’s the closest you’ll get to the high end gelateria stuff, all thanks to a simple stand mixer attachment and a classic French technique.
People often assume making ice cream at home is fussy, but honestly, once the base is chilled, the KitchenAid does all the heavy lifting. The attachment transforms what could be a messy, laborious afternoon into a simple 25 minute churn, delivering results that are impressive, affordable, and utterly delicious.
We are making a rich French custard base today the crème de la crème of ice cream bases, or Crème Anglaise . Trust me, the extra 10 minutes spent tempering the eggs is what gives this specific KitchenAid Ice Cream its unbeatable body and flavor that holds up perfectly in the freezer.
The Magic of the Crème Anglaise Base
This recipe works because we are building a powerful emulsion. Unlike simpler "Philadelphia style" recipes that rely only on cream, the egg yolks in this base bind the fat and liquid together, preventing those large, crunchy ice crystals from ever forming.
It's a bit of culinary science that guarantees an almost impossibly smooth finish.
Essential Equipment Check: Preparing Your KitchenAid Attachment
Okay, real talk: the success of this entire venture hinges on one thing your KitchenAid freezer bowl must be absolutely rock solid. I once rushed the process, trying to sneak in a churn after only 10 hours of freezing, and I ended up with thin, cold soup.
You need that bowl frozen for a minimum of 15 hours, preferably 24. If you hear liquid sloshing, put it back immediately.
Understanding the French Style Texture Difference
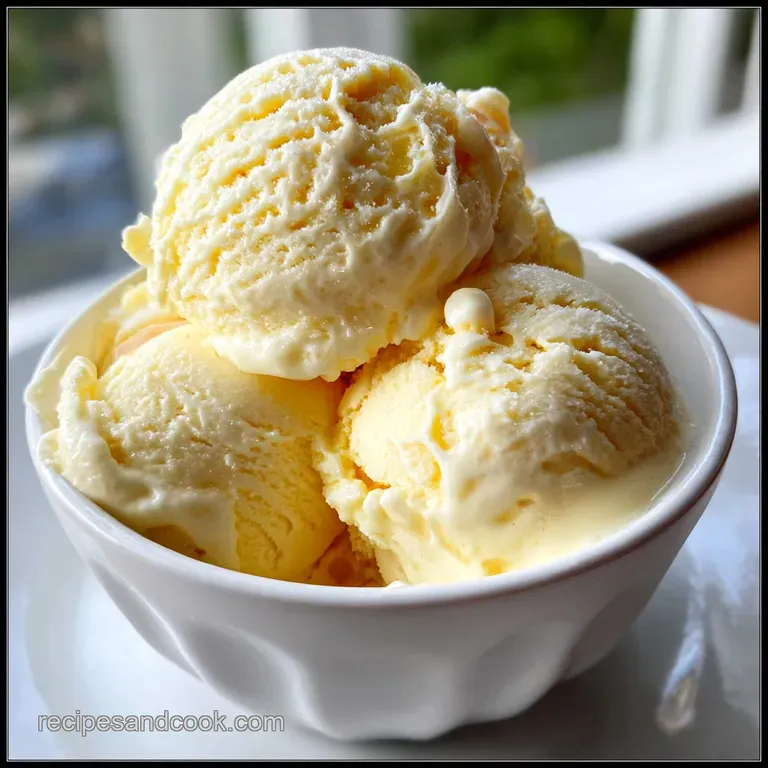
Think of the difference between airy whipped cream and thick, decadent pudding. French style KitchenAid Ice Cream is dense because of the eggs and the high fat content. This results in an ice cream that melts slower on your tongue, giving you more time to savor that creamy vanilla bean goodness.
Defining Your Flavor Profile: Ingredient Quality Notes
If you are going to all the trouble of making this beautiful, rich base, don't skimp on the ingredients. Since there are so few elements, their quality truly shines through in the finished product. Use the freshest eggs and the richest cream you can find.
The Science of Silk: What Makes This Vanilla Bean Base So Smooth
Smoothness in ice cream is a delicate balance of fat, sugar, and protein. We are exploiting all three factors to ensure every spoonful of this KitchenAid Ice Cream is velvety perfection.
Choosing the Right Dairy: Heavy Cream vs. Whole Milk Balance
We use a 2:1 ratio of heavy cream to whole milk. The high fat cream (ideally 35% or higher) provides the necessary richness and body, while the whole milk adds liquid volume to help the sugar dissolve evenly.
Trying to make this ice cream with anything less than full fat milk will likely result in a disappointing, slightly icy texture.
Vanilla Source Deep Dive: Beans, Paste, or Extract?
Vanilla bean pods are the absolute gold standard for this French custard ice cream recipe, leaving those gorgeous, concentrated seeds throughout the base. If you can't justify the price of the whole bean, pure vanilla paste is the next best choice, as it maintains those lovely visual specks.
| Vanilla Source | Use During Cooking? | Flavor Note |
|---|---|---|
| Whole Bean/Seeds | Yes (Pod removed later) | Deepest, purest flavor |
| Pure Extract | No (Add after cooling) | Good, slightly milder flavor |
| Vanilla Paste | Yes (Recommended) | Excellent depth and visual appeal |
Sweetener Swaps and Achieving Optimal Freezing Point
Sugar in ice cream isn't just about making it sweet; it’s a critical structural component. Sugar lowers the freezing point of the mixture, which keeps the ice cream soft enough to scoop once it's fully frozen.
If you need a substitution, you can swap granulated sugar for 2/3 cup of honey or maple syrup, but be warned: liquid sweeteners will result in a slightly softer, chewier KitchenAid Ice Cream .
The Role of Egg Yolks in Emulsification and Richness
Egg yolks are the MVP here. They contain lecithin, which is nature’s best emulsifier. When the yolks are tempered and cooked properly, the lecithin helps the fat and water molecules bond tightly. This binding process is the secret sauce behind that luxurious, silken texture, much like my favorite Bavarian Cream Recipe: A Silken, Restaurant Quality Dessert .
Mastering the Method: step-by-step for Perfect Custard Ice Cream
This process is broken into two distinct phases: cooking the custard base and churning it in your KitchenAid Ice Cream maker .
Creating the Perfect Crème Anglaise (The Tempering Technique)
- Heat the Dairy: Gently heat your milk, cream, vanilla seeds, and pod until small bubbles just start to form around the edges. Do not let it boil we only want it steaming hot.
- Whip the Yolks: While the cream heats, whisk the egg yolks, salt, and half the sugar until the mixture is pale yellow and thick enough to form a "ribbon" when lifted (it will hold a brief shape).
- Temper! Slowly ladle about a cup of the hot cream mixture into the yolk mixture while whisking vigorously and constantly. This gently raises the temperature of the eggs. Stop whisking for a second, and you risk making scrambled eggs!
- Cook to Nappe: Pour the tempered mixture back into the saucepan with the remaining cream. Cook over low heat, stirring continuously with a rubber spatula, until the custard thickens enough to coat the back of the spatula the famous nappe stage. This usually happens around 175°F (80°C). Pull it off the heat immediately.
The Critical Chilling Phase: Ensuring Deep Flavor Development
Immediately pour the custard base through a fine mesh sieve into a clean bowl. This ensures a silky base by removing the vanilla pod and catching any stray bits of cooked egg. I always place the bowl over a large ice bath for 10 minutes to halt the cooking and cooling process rapidly.
Then, cover it and refrigerate for a minimum of 4 hours, but honestly, 12 hours (or overnight) is non-negotiable for the best results. A base that is not fully chilled will not churn correctly in the KitchenAid Ice Cream attachment.
Churning Strategy: Operating Your Stand Mixer Attachment
Once the base is perfectly chilled, attach the frozen bowl, the drive assembly, and the dasher to your KitchenAid. Turn the mixer on to Speed 1 (the lowest setting) and immediately pour the cold custard base into the bowl.
Let the machine churn steadily for 20 to 30 minutes. It will increase in volume and consistency until it resembles soft serve ice cream.
The Essential Step of "Curing" in the Freezer
What comes out of the mixer is delicious, but it's not truly ready. You need the "curing" time. Using a rubber spatula, transfer the soft ice cream into a clean, airtight, freezer safe container. Press parchment paper or cling film directly onto the surface to prevent air exposure and block freezer burn.
Freeze for at least 2 hours until you achieve that perfect scoopable consistency.
Troubleshooting and Expert Secrets for KitchenAid Ice Cream Success
Preventing an Icy or Granular Texture
Icy texture means too much water or a rushed chill time. Make sure you use the required heavy cream (35% fat) and always strain your base. If your custard base is slightly granular, you likely cooked it too quickly or at too high a temperature.
How to Avoid Scrambling the Custard Base
When tempering, add the hot liquid slowly —think of a thin, steady stream while you whisk vigorously. And when cooking the final custard, never, ever let it boil. If you see steam, turn the heat down.
If you do accidentally scramble it, immediately run it through a blender and then strain it. This can sometimes save the flavor, even if the ultimate texture is slightly compromised.
Pre-Chilling the Mixer Bowl: The 24 Hour Rule
Seriously, I’m stressing this again because it’s the most common failure point! If the bowl isn't cold enough, the base won’t freeze evenly; the sides will freeze instantly, while the middle remains liquid, leading to terrible churning performance.
A perfectly frozen bowl is the absolute bedrock of success for this KitchenAid Ice Cream recipe.
Achieving the Ideal "Hard Pack" Consistency
The time it takes to reach hard pack depends entirely on your freezer's temperature. If your ice cream is still too hard after two hours, let it sit on the counter for 5 minutes before serving for the ideal scoop. If it is consistently too soft, you might have used too much liquid sweetener.
Choosing the Best Containers to Combat Freezer Burn
Use shallow, airtight containers designed for freezing. Minimize the air space by pressing cling film directly onto the surface of the KitchenAid Ice Cream before sealing the lid. Air is the enemy! Air exposure rapidly causes freezer burn, turning your beautiful custard into dry, icy chalk.
Extending Shelf Life: Storing Your Homemade Indulgence
Because this base is so high in fat and stabilized with eggs, it holds up better than leaner, simpler recipes. It’s best consumed within the first week, but properly stored (in a well sealed container, buried deep in your freezer), this glorious dessert lasts easily for three weeks.
Elevating the Experience: The Best Pairings for Vanilla Bean Ice Cream
Vanilla is the ultimate canvas for complementary flavors. Since this base is already rich, you want toppings that offer a textural contrast or a punch of acidity.
Sauces and Syrups that Complement the Richness
I love serving this with a hot shot of freshly brewed espresso for a classic Affogato that temperature and flavor contrast is brilliant. It also pairs perfectly with a rich, dark fudge sauce. If you’re feeling festive, a spoonful of spiked cranberry sauce (like the one I use for my Christmas Cocktails: Best Spiced Cranberry Gin Fizz Recipe ) provides a wonderful tart counterpoint to the creamy base.
Chef’s Note: Don’t be afraid to fold in chunky mix-ins! Add elements like chopped chocolate, nuts, or crushed biscuits during the last five minutes of churning while the KitchenAid Ice Cream maker is running, ensuring even distribution.
Making your own premium vanilla ice cream using the KitchenAid Ice Cream attachment is truly a game changer. It takes a little patience, especially during the chilling and tempering phases, but the moment you taste that dense, unbelievably smooth result, you’ll realize you can never go back to store-bought.
Go forth and churn! This KitchenAid Ice Cream recipe is truly one for the books.

Recipe FAQs
How long must the KitchenAid ice cream bowl be pre-frozen before use?
The bowl must be frozen absolutely solid to function effectively, typically requiring a minimum of 15 to 24 hours in a deep freezer set below 0°F (-18°C). If the bowl is not completely rock hard, it will quickly warm up and the liquid base will not freeze properly during the crucial churning window.
My Crème Anglaise base looks runny and won't coat the back of the spoon. What went wrong?
This means the custard did not reach the proper temperature to thicken the eggs, usually around 170°F (77°C). Return the base to medium low heat and stir constantly until the mixture coats a spoon thickly, ensuring you avoid boiling, which will scramble the egg yolks.
I churned the base for 30 minutes, but it's still soft and soup like. Why didn't it set up?
The primary culprits are an insufficiently frozen churn bowl or a base that was not adequately chilled before starting the process. Ensure your base has chilled for at least 6 hours (preferably overnight) and verify that the churn bowl is fully solid before attaching it to the mixer.
Why did my finished ice cream turn out icy instead of smooth and creamy?
Icy texture usually results from too much water content or slow secondary freezing. Ensure your base is rich and properly cooked, and if needed, add a tablespoon of high proof neutral spirit, like vodka, to the mixture to help lower the freezing point.
When should I add chocolate chips, nuts, or other chunky mix-ins?
Mix-ins should always be added during the last 2 to 5 minutes of the churning process, once the ice cream has significantly thickened. Adding them too early can prevent the base from freezing evenly and potentially damage the plastic dasher attachment.
My ice cream freezes rock solid in the freezer and is hard to scoop. How can I soften it?
This hardness is often due to the ratios of fat, sugar, and air. To achieve a softer scoop, you can slightly increase the sugar content next time, or store the final product in an airtight container at the back of the freezer where temperatures are more stable.
How long can I store this homemade custard ice cream in the freezer?
For the best texture and flavor, homemade ice cream should ideally be consumed within 1 to 2 weeks. While it is safe to eat for much longer, the quality deteriorates rapidly as ice crystals form and air exposure causes flavor changes.
Kitchenaid Ice Cream Custard Base

Ingredients:
Instructions:
Nutrition Facts:
| Calories | 812 kcal |
|---|---|
| Protein | 19.7 g |
| Fat | 60.3 g |
| Carbs | 48.4 g |
