Instant Pot Yogurt: the Gold Standard Recipe for Silky Smooth Greek Yogurt
- Beyond the Faff: Why Instant Pot Yogurt is Your New Kitchen Staple
- The Science of Silk: Why the Instant Pot Creates Perfect Yogurt
- Essential Building Blocks: Selecting Your Milk and Starter Culture
- The Instant Pot Yogurt Method: A Simple 4 Step Process
- Troubleshooting and Tips from Chef [Your Name]
- Maximizing Freshness: Storage and Freezing Your Homemade Instant Pot Yogurt
- Creative Ways to Use Your Creamy Instant Pot Yogurt
- Recipe FAQs
- 📝 Recipe Card
Beyond the Faff: Why Instant Pot Yogurt is Your New Kitchen Staple
Have you ever dipped your spoon into homemade yogurt, tasting that impossibly creamy texture and that perfect, clean tang? It’s seriously game changing. The fresh aroma of cultured dairy is unlike anything you buy in a plastic tub, and when it’s still slightly warm from the incubation cycle, it's just pure comfort food.
For years, I thought making yogurt was something only grandmas or hippies did, requiring elaborate warm blankets and lots of checking the temperature every five minutes. Sigh. But then I realized the Instant Pot (IP) wasn't just for fast meals; it is a passive fermentation machine built for dairy.
It’s cheap, incredibly easy, and saves you a ton of money versus buying those tiny, fancy tubs.
Trust me, once you realize how effortless and reliable the Instant Pot yogurt recipe is, you’ll never look back. This is the simplest way to get consistent, perfectly thick yogurt, regardless of whether your kitchen runs hot or cold.
Let’s crack on and talk about the simple secrets to success.
The Science of Silk: Why the Instant Pot Creates Perfect Yogurt
This isn't just about throwing milk in a machine and pressing a button, although that's mostly what we do. The reason the Instant Pot excels at yogurt creation is simple: surgical temperature control. Culturing bacteria are divas; they demand precision, and the IP delivers it perfectly.
What Sets Homemade Instant Pot Yogurt Apart from store-bought
store-bought yogurt is often pasteurized after fermentation, which extends shelf life but kills some of the beneficial bacteria we want. Our homemade version skips this final sterilization, meaning every spoonful is packed with living cultures and flavour. Plus, you control the tanginess.
Cost Savings vs. Gourmet Tubs
Let’s be real, the $7 Greek yogurt tubs are painful to purchase every week. You can make an entire gallon of yogurt for the cost of the milk, maybe three bucks, depending on where you shop. When you factor in the sheer volume you get, this makes sense financially.
Understanding the 'Yogurt' Function on Your Model
The Instant Pot yogurt setting instructions are essential. The IP takes all the guesswork out of maintaining the ideal culturing temperature (around 108 112°F).
It works like an automated thermos, maintaining that golden window without fluctuation for hours, which is the key to thick, non-slimy yogurt.
The Importance of Pasteurization (The 'Boil' Step)
We heat the milk to 180°F (82°C) in the boil phase. Why? Two reasons: First, it kills any bad bacteria that might interfere with our culture. Second, and more importantly, it denatures (changes the structure of) the milk proteins, allowing them to clump together more tightly during incubation.
This is why your homemade yogurt gets so incredibly thick.
Hitting the Golden Temperature: Culturing Precision
If your milk is too hot when you add the starter, you kill the culture. If it’s too cool, the culture just hibernates and takes forever to thicken. The perfect inoculation range is 105°F to 115°F (40°C to 46°C). Using an instant read thermometer during this cooling stage is non-negotiable.
Understanding Acidity and Tanginess (pH)
The bacteria consume lactose (milk sugar) and produce lactic acid. The longer the incubation time (usually 8 to 12 hours), the more acid is produced, resulting in a lower pH and a tangier flavor.
8 hours gives you a mild, sweet yogurt; 12 hours delivers that lip-puckering tang we love in Greek yogurt.
Essential Building Blocks: Selecting Your Milk and Starter Culture
You only need two ingredients to make true Instant Pot yogurt , but choosing the right quality makes all the difference in the world. Garbage in, garbage out, right?
Whole Milk vs. Reduced Fat: Achieving Maximum Creaminess
I always recommend using high-quality whole milk for your first few attempts. The fat content contributes significantly to the creamy mouthfeel and helps the yogurt set firmly. Reduced fat milk will work, but the final texture will be noticeably thinner and more prone to whey separation.
Using Ultra Pasteurized Milk: What to Know
This is a common question: can you use Ultra High Temperature (UHT) milk? Yes, but you can skip the initial boil step! This is sometimes called the Instant Pot yogurt cold start method.
The UHT process has already denatured the proteins for you, but the yogurt may sometimes turn out slightly softer than the traditional method.
Choosing the Best Live Culture Starter
This is your magic dust. You need about two tablespoons of high-quality, existing plain yogurt that explicitly says "contains live active cultures." If you use flavoured or sweetened yogurt, the sugars can inhibit the fermentation process.
Chef's Note: My biggest mistake early on was using old, nearly expired store-bought yogurt as a starter. It didn't have enough active bugs left, and the batch failed miserably. Always use the freshest starter you can find!
Can dairy-free Milk Work in the Instant Pot?
Technically, yes, but not with this exact recipe or culture. Almond, coconut, and soy milks require specialized, non-dairy specific cultures (often powders) and usually necessitate adding a thickening agent, like agar or tapioca starch, because they lack the necessary casein proteins.
Stick to dairy if you want this classic result.
| Ingredient | Why We Use It | Substitution/Variation |
|---|---|---|
| Whole Milk | Rich fat content for creaminess. | 2% Milk (thinner result) OR Fairlife Milk (for Cold Start IP method). |
| Dry Milk Powder | Boosts milk solids for thickness. | Omit completely (Accept slightly thinner texture). |
| Yogurt Starter | Provides the necessary bacteria. | Freeze dried culture packet OR 2 Tbsp fresh, high-quality plain yogurt. |
The Instant Pot Yogurt Method: A Simple 4 Step Process
This is where the magic happens, and it’s surprisingly hands off. Remember, patience is your main ingredient here.
Step 1: Scalding and Cooling the Milk
First, whisk your milk (and optional dry milk powder) in the IP liner. Set the Instant Pot to the YOGURT function and select BOIL . Once it beeps, remove the liner and cool it down rapidly.
I use the ice bath method it’s the fastest way to hit that target 110°F. Cook until the milk reaches 180°F, then cool it back down to that precise culturing temperature.
Step 2: Whisking in the Culture Starter
Take a small amount of the cooled milk and whisk it into your starter culture in a separate bowl until completely smooth. This tempering step ensures the culture integrates smoothly into the large batch of milk and avoids lumps.
Pour this back into the IP liner and gently whisk it throughout the remaining milk, distributing the cultures evenly. Avoiding the 'Separator' Error means that proper mixing is essential.
Step 3: Setting the Instant Pot to Incubate
Put the liner back into the IP, close the lid (vented or sealed, doesn't matter for yogurt), and select the YOGURT setting again. Use the adjust button to set your incubation time. I usually go for 10 hours for a balanced tang. Now, walk away!
Do not bump it, do not open it, and do not peek.
Step 4: The Overnight Chill and Final Strain
Once the incubation cycle finishes, the yogurt will look wobbly but set. Do not stir it now! Cover the pot and immediately transfer the whole thing to the refrigerator. The mandatory 4 6 hour chill is critical for setting the final texture.
This step stops the bacteria activity and allows the proteins to fully firm up, transforming it from wobbly custard into actual spoonable yogurt. If you want Greek style, strain it through a cheesecloth lined sieve after chilling.
Troubleshooting and Tips from Chef [Your Name]
I've had my share of thin, watery failures, so let me share the spots where people usually mess up when they attempt to make Instant Pot yogurt .
Dealing with Thin or Watery Results
If your yogurt is thin, chances are you didn't pasteurize correctly (didn't hit 180°F to denature proteins) or your culture wasn't strong enough. Next time, try adding that optional dry milk powder to boost milk solids.
Alternatively, simply strain the thin yogurt through a coffee filter or cheesecloth for 3– 4 hours, and you’ll still end up with a usable, albeit smaller, batch of thickened yogurt.
Avoiding the 'Separator' Error (Not Mixing the Starter Properly)
Sometimes, if you dump the starter directly into the milk, it can clump up and only culture in small patches. That's why we temper it first! If your yogurt separates into curds and whey during incubation, it likely got too hot initially, killing most of the culture, or it incubated for far too long, causing extreme acidity.
Measuring Temperature Without a Thermometer
Can you make Instant Pot yogurt without yogurt setting ? Sure, if you have a reliable thermometer, you can use the Keep Warm function set to low. But trying to gauge 110°F by dipping your finger is just reckless, friend. Your finger should feel warm, but not painfully hot.
If you can’t keep your finger submerged for 10 seconds, it’s too hot get a thermometer!
Maximizing Freshness: Storage and Freezing Your Homemade Instant Pot Yogurt
Once you’ve made a big batch of this deliciousness, you need to know how to keep it tasting perfect.
How Long Does Homemade Yogurt Last?
Instant Pot yogurt lasts significantly longer than you might think! Because the pH is naturally lower, it stays fresh for 10 to 14 days in the refrigerator. Just be sure to always use a clean spoon when scooping it out to prevent contamination.
Best Containers for Long Term Refrigeration
Transfer your finished, chilled yogurt into several smaller, airtight containers instead of keeping it all in one giant tub. This limits its exposure to air every time you open it. Glass jars with tight fitting lids are my favorite choice for both safety and aesthetics.
Freezing Yogurt for Future Use (Is It Possible?)
But does it freeze well? You bet. While freezing does alter the texture slightly (it might become a little grainy upon thawing), it's perfect for smoothies or baking. Pour yogurt into ice cube trays or muffin tins, freeze until solid, and then transfer the cubes to a freezer bag.
Freeze for up to three months.
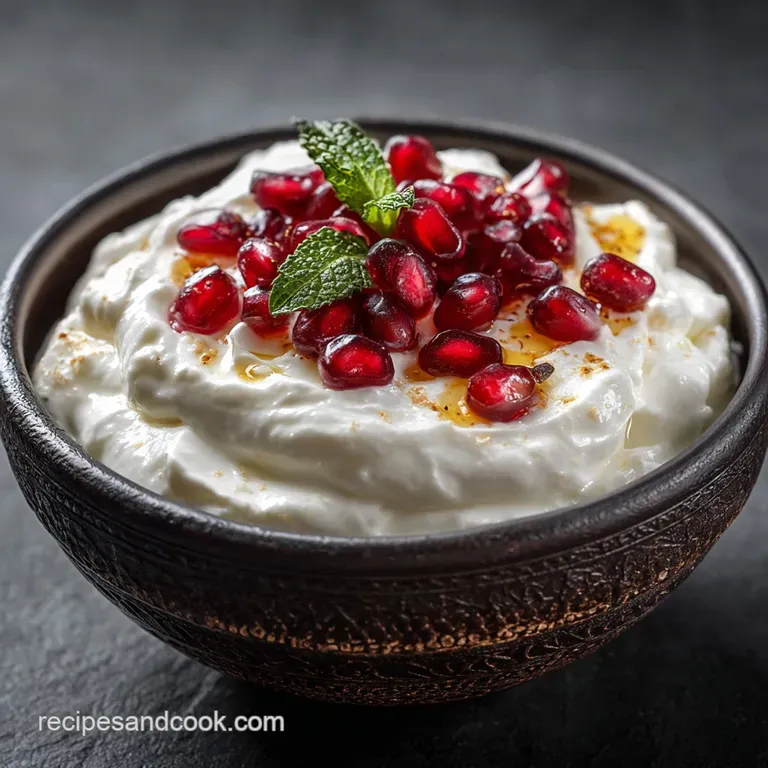
Creative Ways to Use Your Creamy Instant Pot Yogurt
This creamy base is perfect for sweet treats, but it truly shines in savory applications.
- Marinating Meats: Use the acidity of the unstrained yogurt to tenderize chicken or lamb before grilling.
- Cooling Sauce: Make a simple raita or tzatziki. This is absolutely necessary if you’re serving something rich and spicy, perhaps alongside a batch of my ultra tender, smoky Chipotle Barbacoa Copycat Recipe: Ultra Tender Smoky Slow Cooked Beef .
- Baking: Substitute yogurt for sour cream or buttermilk in quick bread recipes for added moisture and lift.

Recipe FAQs
Why is my yogurt runny or failed to set after the incubation period?
The most common causes are a weak starter culture or incorrect temperature during inoculation. Ensure your milk cooled properly (around 105°F 112°F) before adding the starter, as excessive heat will kill the live bacteria.
If the culture is old, try using a new, store-bought yogurt with verified active live cultures for your next batch.
What is the thin, yellowish liquid floating on top of my finished yogurt?
That liquid is whey, a natural byproduct of the fermentation process, and it is completely normal and nutritious. You can simply stir it back into the yogurt for a slightly thinner consistency, or strain the yogurt (using cheesecloth or a fine mesh sieve) to achieve a thicker, Greek style result.
Can I successfully make Instant Pot yogurt using non-dairy milk alternatives?
Yes, but the results vary significantly; alternatives like almond or oat milk often yield a very thin, drinkable product due to their low protein content. For the best non-dairy thickness, use full fat coconut milk or soy milk, often requiring the addition of a plant based thickener like tapioca starch or agar agar.
Why does the recipe require a boiling or 'Pasteurize' step before incubation?
The heating process (reaching approximately 180°F) denatures the milk proteins, causing them to unfold and create stronger bonds during cooling. This crucial step is what gives homemade yogurt its notably thicker, less watery texture compared to using pre-pasteurized milk straight from the carton.
What is the best way to convert regular Instant Pot yogurt into Greek Yogurt?
After the yogurt is finished and chilled, you must strain it to remove the excess whey. Pour the chilled yogurt into a strainer lined with several layers of cheesecloth or a clean cotton towel and allow it to drain in the refrigerator for 2 4 hours, depending on your desired thickness.
How long can I safely store my homemade Instant Pot yogurt in the refrigerator?
Properly stored yogurt, kept in an airtight container, typically remains fresh and potent for up to two weeks. While it may stay edible slightly longer, the culture activity continues, meaning the yogurt will become increasingly tangy after 10 days.
Is it possible to freeze leftover homemade yogurt for later consumption?
Yes, you can freeze yogurt, but be aware that the freezing process will slightly alter the texture, making it grainier or separated upon thawing. It is best suited for freezing if you plan to use it later in smoothies, baking recipes, or making frozen yogurt pops rather than eating it plain.
Instantly Creamy Instant Pot Yogurt
Ingredients:
Instructions:
Nutrition Facts:
| Calories | 147 kcal |
|---|---|
| Protein | 8.0 g |
| Fat | 8.0 g |
| Carbs | 11.0 g |
