Peanut Butter Cookies: the Criss-Cross Classic
- Baking the Ultimate Peanut Butter Cookie: An Overview
- Essential Pantry Staples for Perfect Peanut Butter Cookies
- The Science of the Crumb: Why This Classic Method Delivers
- Step-by-Step Guide to Criss-Cross Peanut Butter Perfection
- Troubleshooting and Expert Tips from the Test Kitchen
- Keeping Your Cookies Fresh: Storage and Make-Ahead Guide
- What Pairs Best With Homemade Peanut Butter Treats?
- Recipe FAQs
- 📝 Recipe Card
Baking the Ultimate Peanut Butter Cookie: An Overview
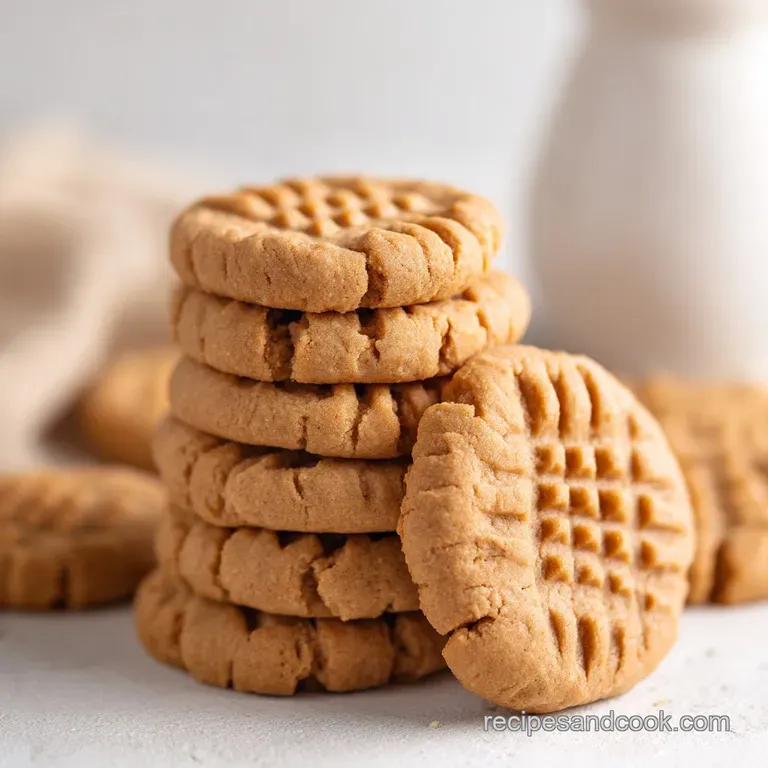
That aroma. You know the one. Warm, nutty, and slightly sweet, hinting at the chewy perfection to come. Forget everything else; the absolute best cure for a bad day is a batch of classic, perfect Peanut Butter Cookies . They truly smell like pure nostalgia mixed with a hug.
Honestly, this recipe is a total lifesaver. It uses ingredients you already have lurking in your pantry, requires minimal fuss, and comes together faster than calling for delivery. Plus, compared to those expensive bakery treats, making them at home saves a fortune.
It’s cheap, cheerful, and incredibly satisfying.
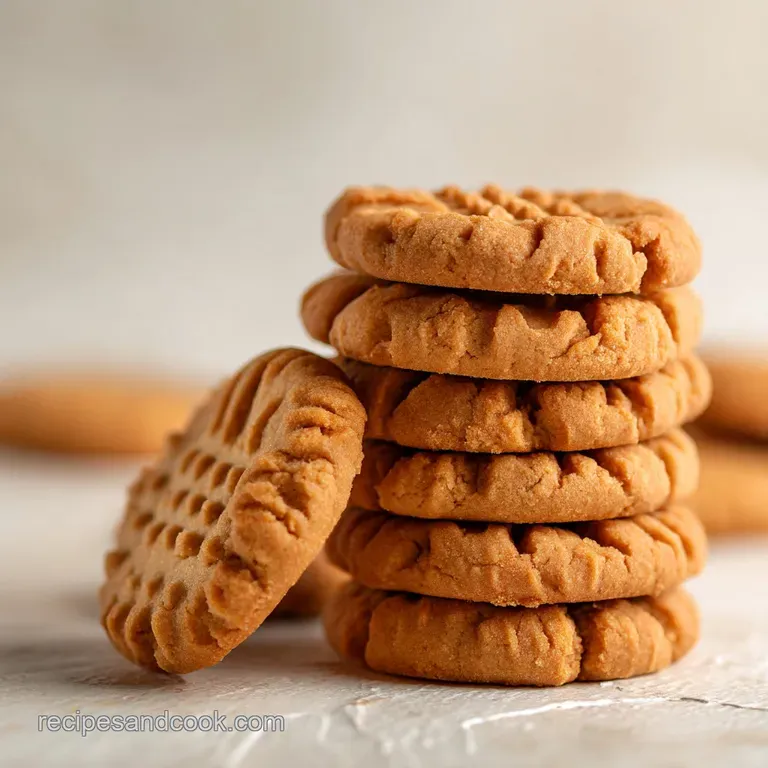
Over the years, I've tried every variation imaginable from three ingredient wonders to complex double batch recipes. This is the version that delivers every single time: thick, soft, and featuring that essential criss cross pattern.
Let’s get these amazing Peanut Butter Cookies baking!
The Signature Criss Cross: Form vs. Function
The criss cross isn't just cute, it’s critical. It looks great, yes, but those fork marks are essential for function! If you don't flatten the dough slightly, those big, dense dough balls won't bake evenly. You’ll end up with a raw, sinking centre and dry, burnt edges.
That simple pressing action controls spread, helps the heat penetrate the dense dough, and guarantees uniform texture in every single one of these delicious Peanut Butter Cookies .
What Makes These Cookies Chewy (And Not Dry)?
It comes down to two key ingredients: brown sugar and proper technique. Brown sugar contains molasses, which is hydroscopic, meaning it loves holding onto moisture. By using a 50/50 mix of white and brown sugar, we ensure the cookie retains maximum chewiness.
We also rely on chilling the dough cold fat melts slower, slowing the spread and allowing the structure to set before the cookies go completely flat. If you want truly soft Peanut Butter Cookies , you have to follow both of these rules.
Prep Time and Yield Estimates
You can be actively prepping these in 15 minutes, easy. The chilling takes a mandatory 30 minutes, which is the perfect amount of time for doing the dishes or making a coffee.
We’re aiming for about 20 medium sized beauties, which is just enough to share (or hoard, no judgment here). This recipe for Peanut Butter Cookies is quick enough for a weeknight but good enough for a bake sale.
Essential Pantry Staples for Perfect Peanut Butter Cookies
Natural vs. Processed Peanut Butter: Which to Use?
This is the most critical ingredient choice! Listen, I love making homemade nut butters I even have a recipe for Pistachio Butter: Luxury Homemade Recipe for Vibrant, Silky Spread when I’m feeling fancy. But for baking classic Peanut Butter Cookies , stick to the stabilized, processed stuff (think Jif or Skippy). Natural, oil-separated peanut butter has too much liquid fat and will result in a greasy, flat cookie disaster that completely defeats the purpose of making chewy cookies.
| Ingredient | My Recommendation | Substitution Notes |
|---|---|---|
| Peanut Butter | Commercial, creamy, stabilized | Almond or cashew butter can work, but reduce the butter amount slightly if the nut butter seems very oily. |
| Butter | Unsalted, room temperature | dairy-free baking sticks or solid vegetable shortening. |
| Egg | 1 large, room temperature | For an egg-free version, use a flax egg (1 Tbsp ground flax + 3 Tbsp water). The texture will be slightly less chewy. |
| Flour | All-Purpose | Use a 1:1 gluten-free blend containing xanthan gum. |
Sweetener Swaps: Adjusting the Sugar Ratio
We use equal parts granulated and light brown sugar. Granulated sugar promotes spread and crispness, while brown sugar adds that rich flavour and essential chew. Need a major swap? You can use all granulated sugar, but expect drier, crunchier Peanut Butter Cookies .
For a richer, deeper molasses note, you can swap the white sugar for packed dark brown sugar. Just know your finished cookies will be slightly denser.
Prepping Your Tools: What Equipment You Will Need
A stand mixer or an electric hand mixer is absolutely essential for proper creaming. If you don't have one, you can use a sturdy wooden spoon, but prepare for an arm workout because that butter needs serious fluffing. Make sure you also have a cookie scoop.
It guarantees all your classic Peanut Butter Cookies bake at the exact same rate, which is the key to perfect texture. Parchment paper is also a must have for easy cleanup and preventing sticking.
The Science of the Crumb: Why This Classic Method Delivers
The magic of these Chewy Peanut Butter Cookies lies in the creaming process. We’re beating air into the butter and sugar, essentially creating thousands of tiny air pockets. This air expands in the oven, giving the cookies lift and structure before the flour fully sets.
It is a simple step, but rushing it results in dense, cakey cookies, which we absolutely do not want. This is how you build true volume.
step-by-step Guide to Criss Cross Peanut Butter Perfection
Harnessing Brown Sugar for Maximum Moisture
Ensure your brown sugar is packed firmly into the measuring cup to get the precise amount of molasses needed. This small step is the difference between dry, crumbly cookies and gloriously chewy Best Peanut Butter Cookies .
Remember to measure your flour correctly using the spoon and level technique to avoid adding excess density.
The Critical Role of Creaming Butter and Sugar
Set your timer for four full minutes when creaming the room temperature butter and sugars. The mixture should lighten in color and nearly double in volume, moving from pale yellow to almost white.
Once that beautiful fluffiness is achieved, add the creamy peanut butter and beat until it is totally incorporated, scraping down the bowl as you go.
Achieving the Perfect Spread and Edge Crispness
The egg and vanilla should be added quickly and mixed until just combined. Too much mixing after the egg goes in can start to develop the gluten in the flour early, creating tough cookies.
We are aiming for that perfect balance of crisp edges and soft centers for our Soft Peanut Butter Cookies . Don't be tempted to overmix!
The Right Way to Combine Wet and Dry Ingredients
Switch your mixer to the lowest speed now, or just use a rubber spatula. Add the flour mixture (flour, salt, baking soda) slowly, mixing only until the dough comes together and you see no more dry streaks. Stop the mixer immediately. Overmixing here is a cardinal sin.
You worked too hard for these amazing Peanut Butter Cookies to ruin them by making them tough!
Chef’s Note: The dough must be chilled for at least 30 minutes. This prevents the cookies from spreading too thinly during baking, guaranteeing that desirable thickness. Don’t skip it!
Scooping Uniform Dough Balls for Even Baking
Uniformity is key for predictable baking. Use the scoop; trust me, it’s worth the small investment. We want dough balls of approximately 35g each. After scooping, place them 2 inches apart on the prepared tray, giving these Peanut Butter Cookies plenty of space to spread and expand.
Baking Watch: When Are They Truly Done?
Bake them for 10– 12 minutes at 350°F (175°C). The true sign they are done is when the edges are faintly golden, but the centre still looks pale and slightly under baked.
I made the mistake once of waiting until they looked fully cooked in the oven, and I ended up with hockey pucks. They will finish cooking and set up perfectly on the hot baking sheet for those first critical five minutes after you remove them.
Troubleshooting and Expert Tips from the Test Kitchen
Solving the Flat Cookie Mystery: Troubleshooting Spread
If your Peanut Butter Cookies spread too much, it’s almost always due to warm dough or too much liquid/oil. Make sure you chilled the dough for the full 30 minutes, and double check that you used stabilized peanut butter.
If they still spread too thin, your flour measurement might be off, or your oven temperature could be inaccurate. I swear by an oven thermometer.
Why the Dough Must Be Forked (and How to Do It Right)
As mentioned, the cross hatch isn't just decoration! It ensures proper expansion and prevents the dough from remaining too thick in the middle. Dip your fork in a bit of granulated sugar between cookies to stop sticking. If you are baking something else, like my incredibly popular Chocolate Chip Cookies: Ultimate Brown Butter Recipe , flattening isn't needed, but for these dense Classic Peanut Butter Cookies , the fork is mandatory for even heat distribution.
Should You Chill the Dough Before Baking? (The Consensus)
Yes. Absolutely. Mandatory. If you skip chilling, the fat melts instantly in the oven, and you get thin, crispy wafers instead of thick, chewy Peanut Butter Cookies .
If you are short on time, even 15 minutes in the freezer is better than nothing, but 30 minutes in the fridge is the goal.
Keeping Your Cookies Fresh: Storage and make-ahead Guide
Best Practices for Storing Baked Cookies
Once completely cooled, store your finished Peanut Butter Cookies in an airtight container at room temperature for up to 5 days. For extra insurance against dryness, toss a slice of plain sandwich bread into the container with them; the bread dries out, and the cookies stay beautifully soft by absorbing that moisture.
This is an old bakery trick that always works.
Freezing Cookie Dough for Future Cravings
This is my favourite life hack for late night cravings. Scoop the dough balls, press the fork marks, and place them on a parchment lined tray. Flash freeze until solid (about 2 hours). Transfer the frozen dough balls into a freezer bag and they keep wonderfully for up to 3 months.
When ready to bake, place the frozen dough balls directly on a prepared sheet and add 2– 3 minutes to the bake time. Seriously, pre-scooped frozen dough makes emergency batches of Peanut Butter Cookies incredibly easy.
Reviving Stale Cookies to Their Former Glory
Are they a bit stiff after a few days? Don’t throw them out! Wrap them loosely in a paper towel and microwave them for 8 10 seconds. The brief warmth and trapped moisture soften them up immediately, and they taste almost fresh out of the oven.
This trick works wonders if you need a quick refresh for these incredible Peanut Butter Cookies .
What Pairs Best With Homemade Peanut Butter Treats?
These cookies are rich and flavourful, needing a robust partner. Obviously, a tall, cold glass of milk is the winner, cutting through the richness perfectly. But if you’re feeling extra adventurous, serve these Peanut Butter Cookies alongside a batch of homemade vanilla ice cream or maybe even that quick Dog Ice Cream: Simple Peanut Butter Banana Nice Cream — just for the humans this time, please! A simple dark roast coffee or a strong cup of black tea also complements the salty sweetness wonderfully.
You now have the full playbook for baking the absolute Best Peanut Butter Cookies imaginable. Whether you are a seasoned baker or a total novice, following these steps especially the chilling and the brown sugar ratio will guarantee soft, chewy success.
Go ahead and get mixing; you deserve these incredible, homemade Peanut Butter Cookies .

Recipe FAQs
Why did my peanut butter cookies come out dry and crumbly?
This is typically caused by over measuring the flour or over baking the dough. Ensure you are "spooning and leveling" the flour rather than scooping directly from the bag, which compacts the flour and adds too much dry ingredient.
Additionally, remove the cookies from the oven when the edges are set but the centre still looks slightly glossy, as they continue cooking on the hot tray.
Is the signature criss cross fork mark necessary, or is it just for decoration?
The criss cross pattern is essential for structure, not merely aesthetic. Peanut butter dough is very dense and high in fat, which prevents it from naturally spreading in the oven like traditional chocolate chip cookies.
Pressing the dough flattens the ball, ensuring even baking and preventing the centre from remaining raw or undercooked.
Can I use natural peanut butter instead of commercial creamy varieties?
It is generally recommended to use standard, processed creamy peanut butter (like Jif or Skippy) for consistent baking results. Natural peanut butter often separates, and the high oil content can alter the fat-to-dry ingredient ratio, sometimes making the dough greasy or prone to excessive spreading.
If you must use natural, ensure it is extremely well stirred and measure it after stirring.
Why did my cookies spread too much while baking?
Excessive spreading is usually caused by the fat being too warm or having too little flour in the mixture. Ensure your butter is at a cool room temperature (not melted) and that you are chilling the formed dough balls for at least 30 minutes before placing them into the oven.
Also, verify that your baking soda or powder is fresh and active, which aids in proper lift.
What is the best way to store these cookies, and can I freeze the dough?
Store baked cookies in an airtight container at room temperature for up to five days; keep them away from humid environments to maintain their chewiness. You can easily freeze the dough by rolling the balls, placing them on a tray until firm, and then transferring them to a freezer safe bag for up to three months.
Bake frozen dough balls straight from the freezer, adding 2 4 minutes to the stated baking time.
How can I make this peanut butter cookie recipe gluten-free?
Peanut butter cookies adapt very well to gluten-free baking. Simply substitute the standard wheat flour with an equal volume of a high-quality 1:1 gluten-free baking blend that already contains xanthan gum.
Since peanut butter is the primary binder, no other modifications to the wet ingredients or process are typically necessary.
Chewy Classic Peanut Butter Cookies
Ingredients:
Instructions:
Nutrition Facts:
| Calories | 120 kcal |
|---|---|
| Protein | 3.0 g |
| Fat | 6.0 g |
| Carbs | 14.0 g |
